Lighting your video on a budget
If you are making marketing videos indoors with a smartphone, webcam or camera, you will need some form of lighting to enhance your subject. If you can get away with using available natural or artificial light, that is ideal (as described in our course on making videos with your smartphone). In many cases however, that isn’t possible particularly if you have to use a home studio – a grand title for a spare bedroom or the corner of your office! This article describes the basics of setting up your video lighting, and what equipment you need.
Setting up your lighting
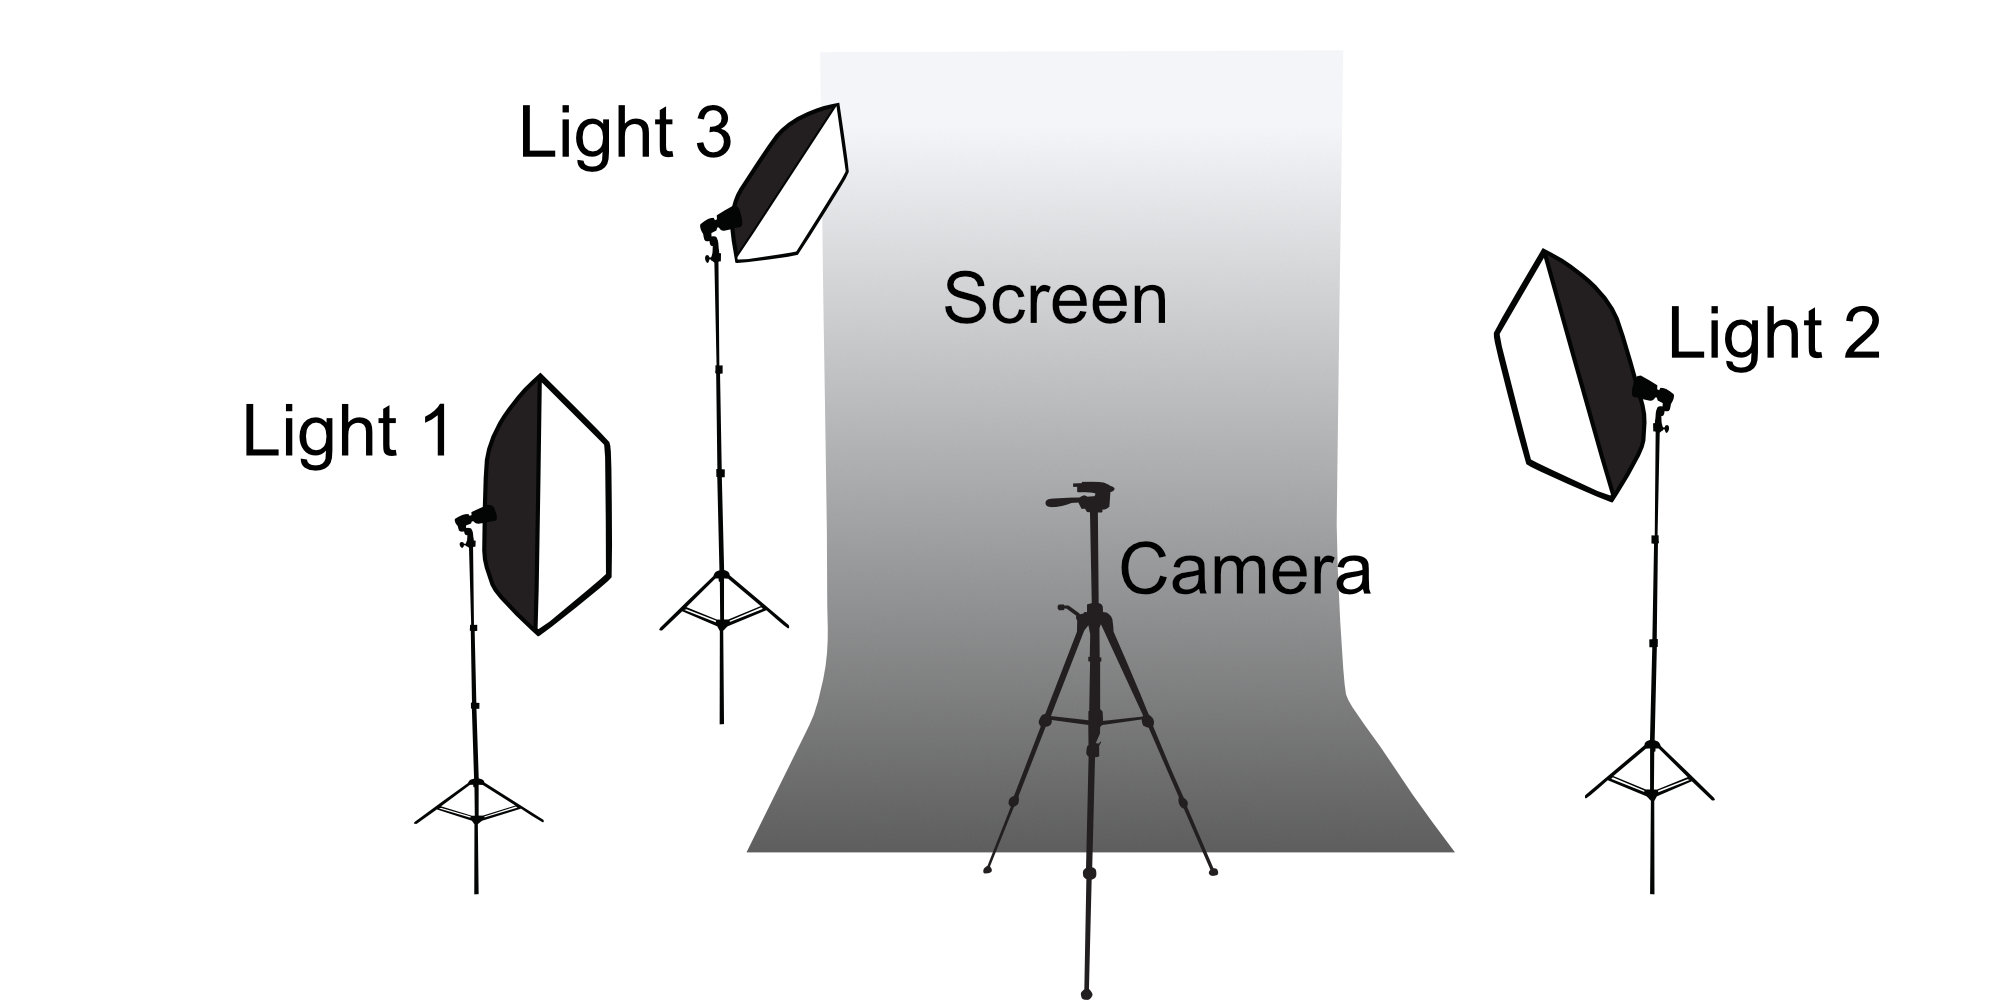
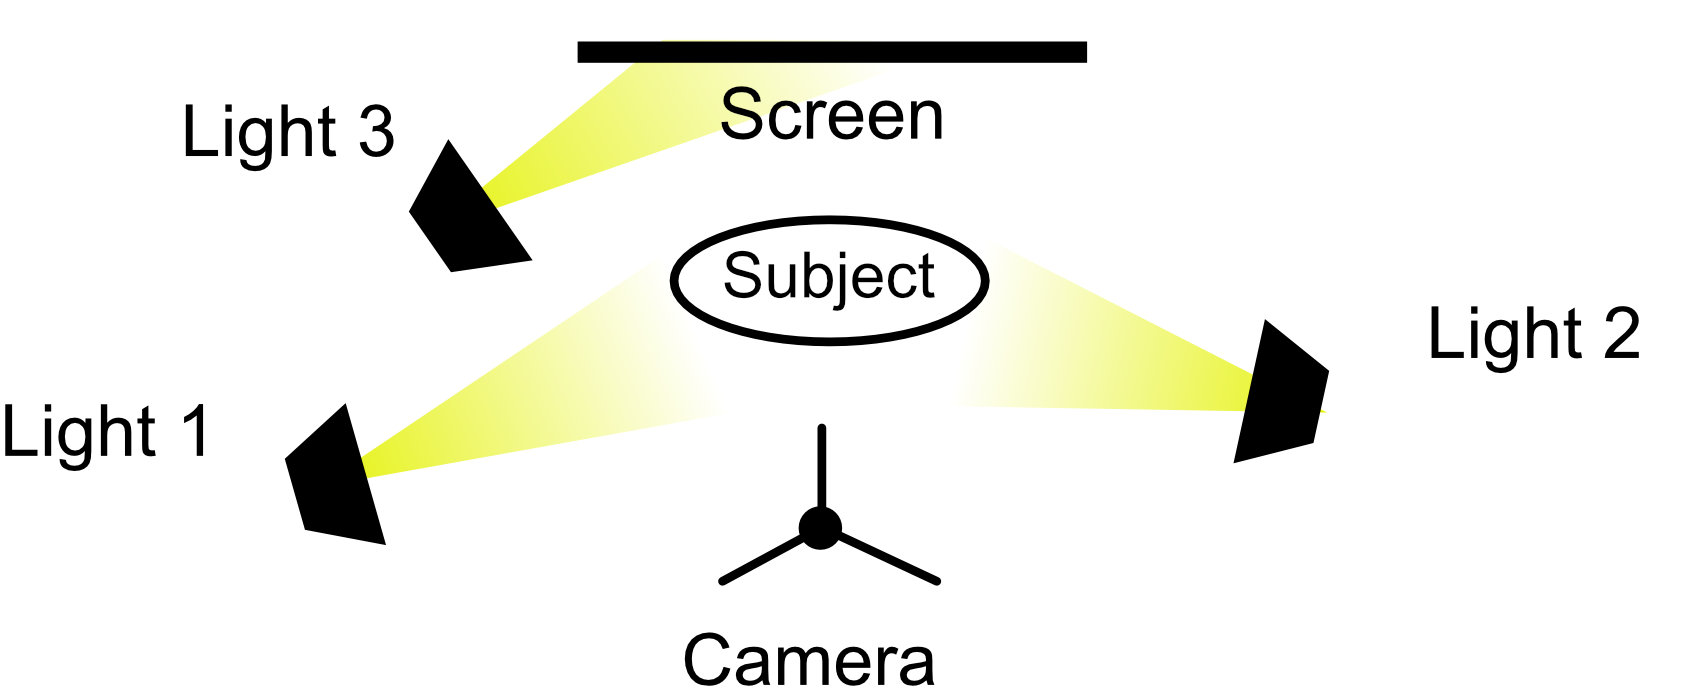
Classic studio lighting involves three light sources:
- One lighting the right side of the subject
- One lighting the left side of the subject
- One lighting the back of the subject
You can adjust the left and right side lights forward and back, higher and lower so your subject has the best definition. Too much light can make the subject look very flat, too sharp an angle can throw harsh shadows. I like to have one side light higher than the other.
The back light can have two functions. It can throw light onto the top and back of the subject – sometimes this is called the head light. See the plan view below.
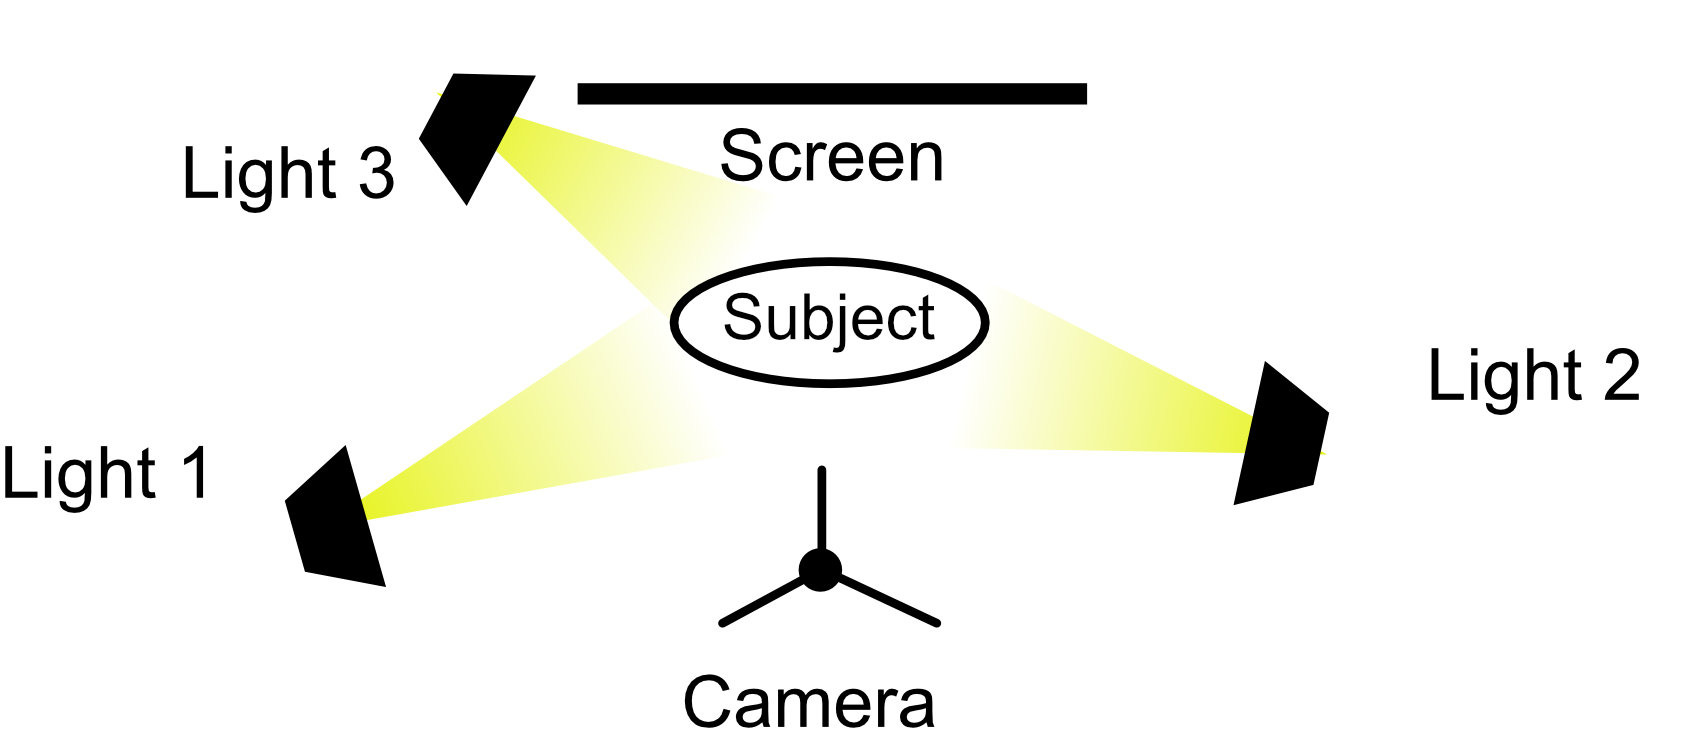
If you are using a green screen or you need to eliminate shadows on the background, you can aim this light at the screen or background behind.
That is the basics! If you just do this, you are already improving your videos enormously. You can go on to make a career out of film lighting, but that involves a whole lot more….
What equipment
You can improvise with what is available, or you can buy a basic set of studio lights which are more flexible and will give you a better result.
If you have a window, this can be a helpful source of natural light but it is very time and weather dependant, so it is rather unreliable. If you have to shoot by a window and the light is too bright, you can diffuse the light by taping a cheap translucent shower curtain over the window. These cost just a few pounds from a hardware store.
If you decide to buy lights, there are a lot of choices so here are my recommendations for a basic set.
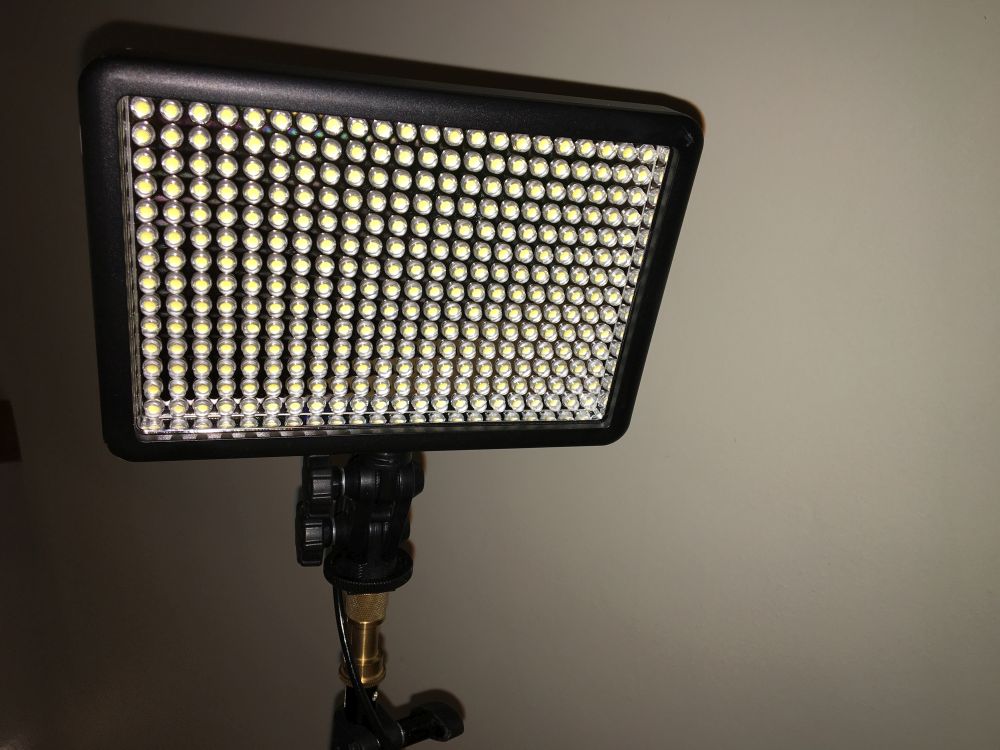
Three lights – LED with adjustable brightness would be my preference. You can buy ones that are mains powered or have rechargeable batteries. Some have remote controls for brightness.
Three light stands. These are usually much more lightweight than a camera tripod and have three legs with height adjustment.
You may need some adaptors so the lights screw into the top of the stands. There are two sizes and male/female thread options so a set of adaptors will come in handy for attaching things to things across your complete video kitbag.
Lights can be rather bright, which after all is their purpose. However, they can be dazzling to the subject if it is a person, and the light can appear too harsh in the video. You can diffuse the lights with a soft box. These are usually collapsible fabric boxes with translucent white fabric on the front. The LED light can shine through the fabric, or bounce off the inner reflective lining of the box to create a more even, softer light.
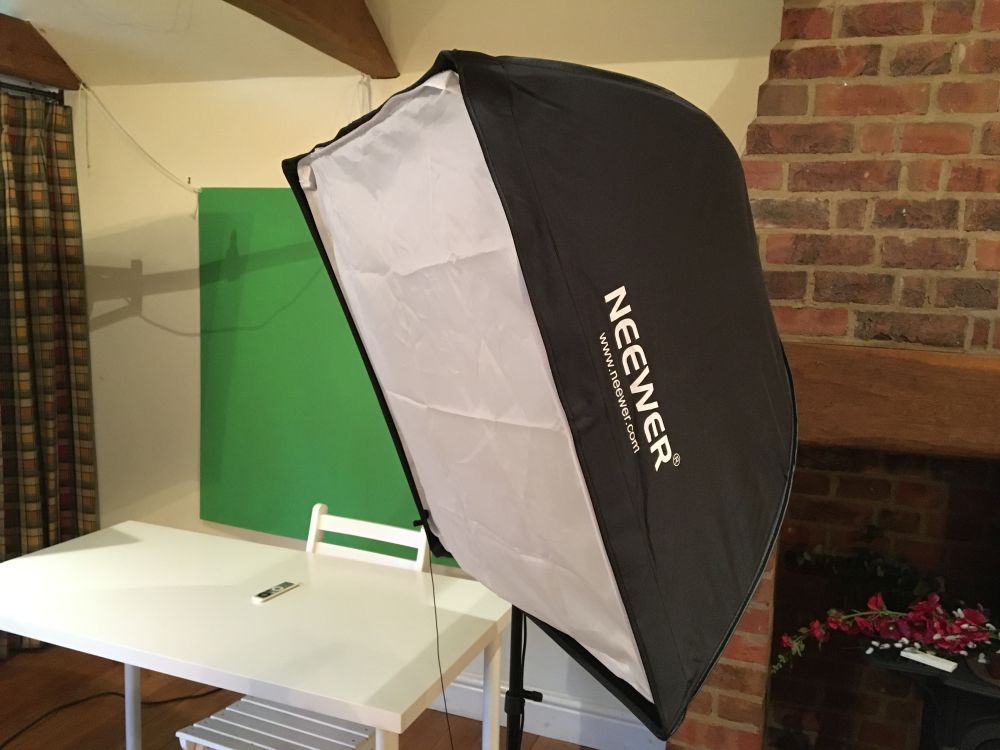
Buy a soft box or two that store easily – I like the ones that open like an umbrella. Mine came without any means of fixing the central stick to the light stand but you can obtain the adaptors separately.
Amazon is a good source for all these items and you can find some bundle deals for low-cost sets.
Neville Merritt